Community Milling
Before You Harvest
Around 4 weeks out, is a good general rule of thumb, for when you want to start getting ready for harvest. Our top tips below.
- Mow the lawns around your trees.
- Remove any dead branches with no fruit, or branches that impact your ability to pick your fruit.
- Remove any weeds from around the base of your trees.
- Don’t use any chemicals, as we can’t accept any fruit that’s been sprayed with glyphosate or similar chemicals.
- Clear away animal mess from the ground as we also can’t accept contaminated fruit.
Containers & Cleaning
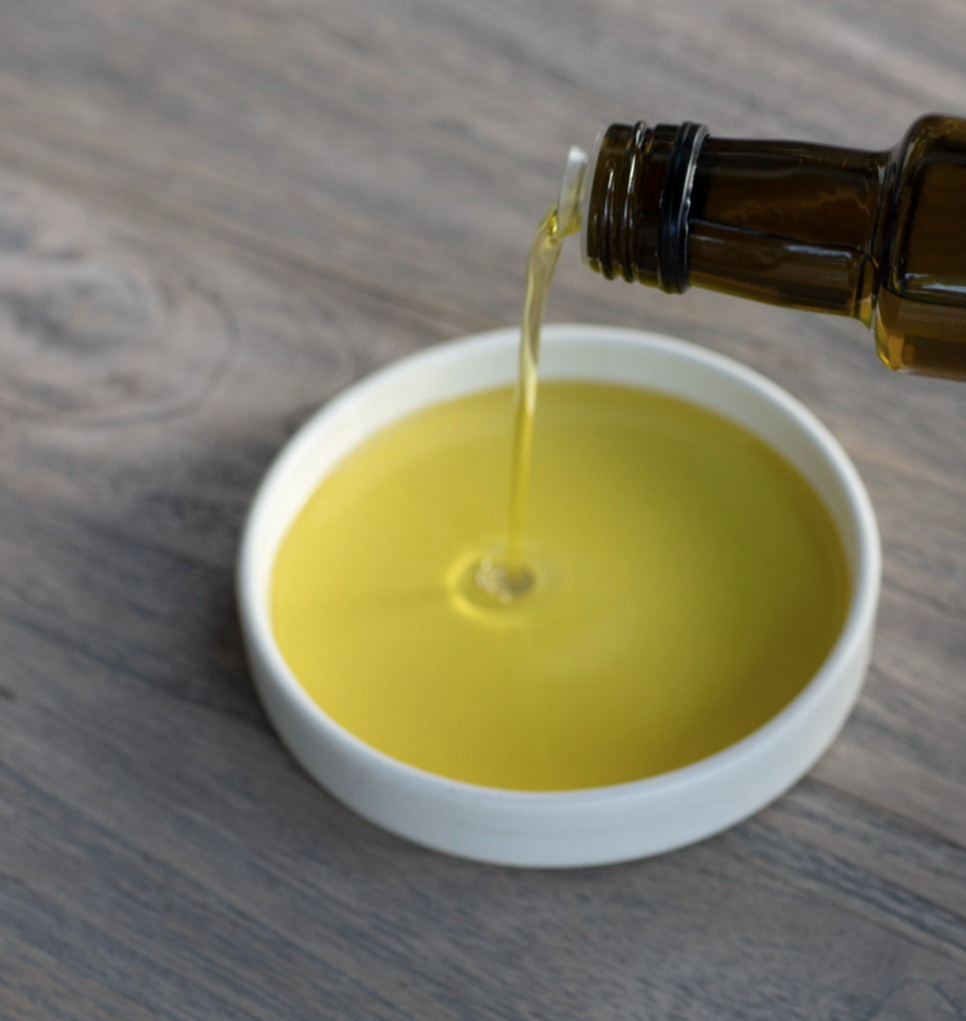
Properly cleaned and stored drums will be good as gold for many years – here’s how to extend the life of your extra virgin olive oil containers.
Store your extra virgin olive oil in scrupulously clean containers, or it will pick up the rancid flavour of old oil and be ruined.
Clean your containers (especially plastic drums) as soon as they’re empty, to prevent bad flavours
permeating the plastic.
Dry the container with the top off in a spot with good airflow out of direct sunlight.
How to harvest - tips & advice
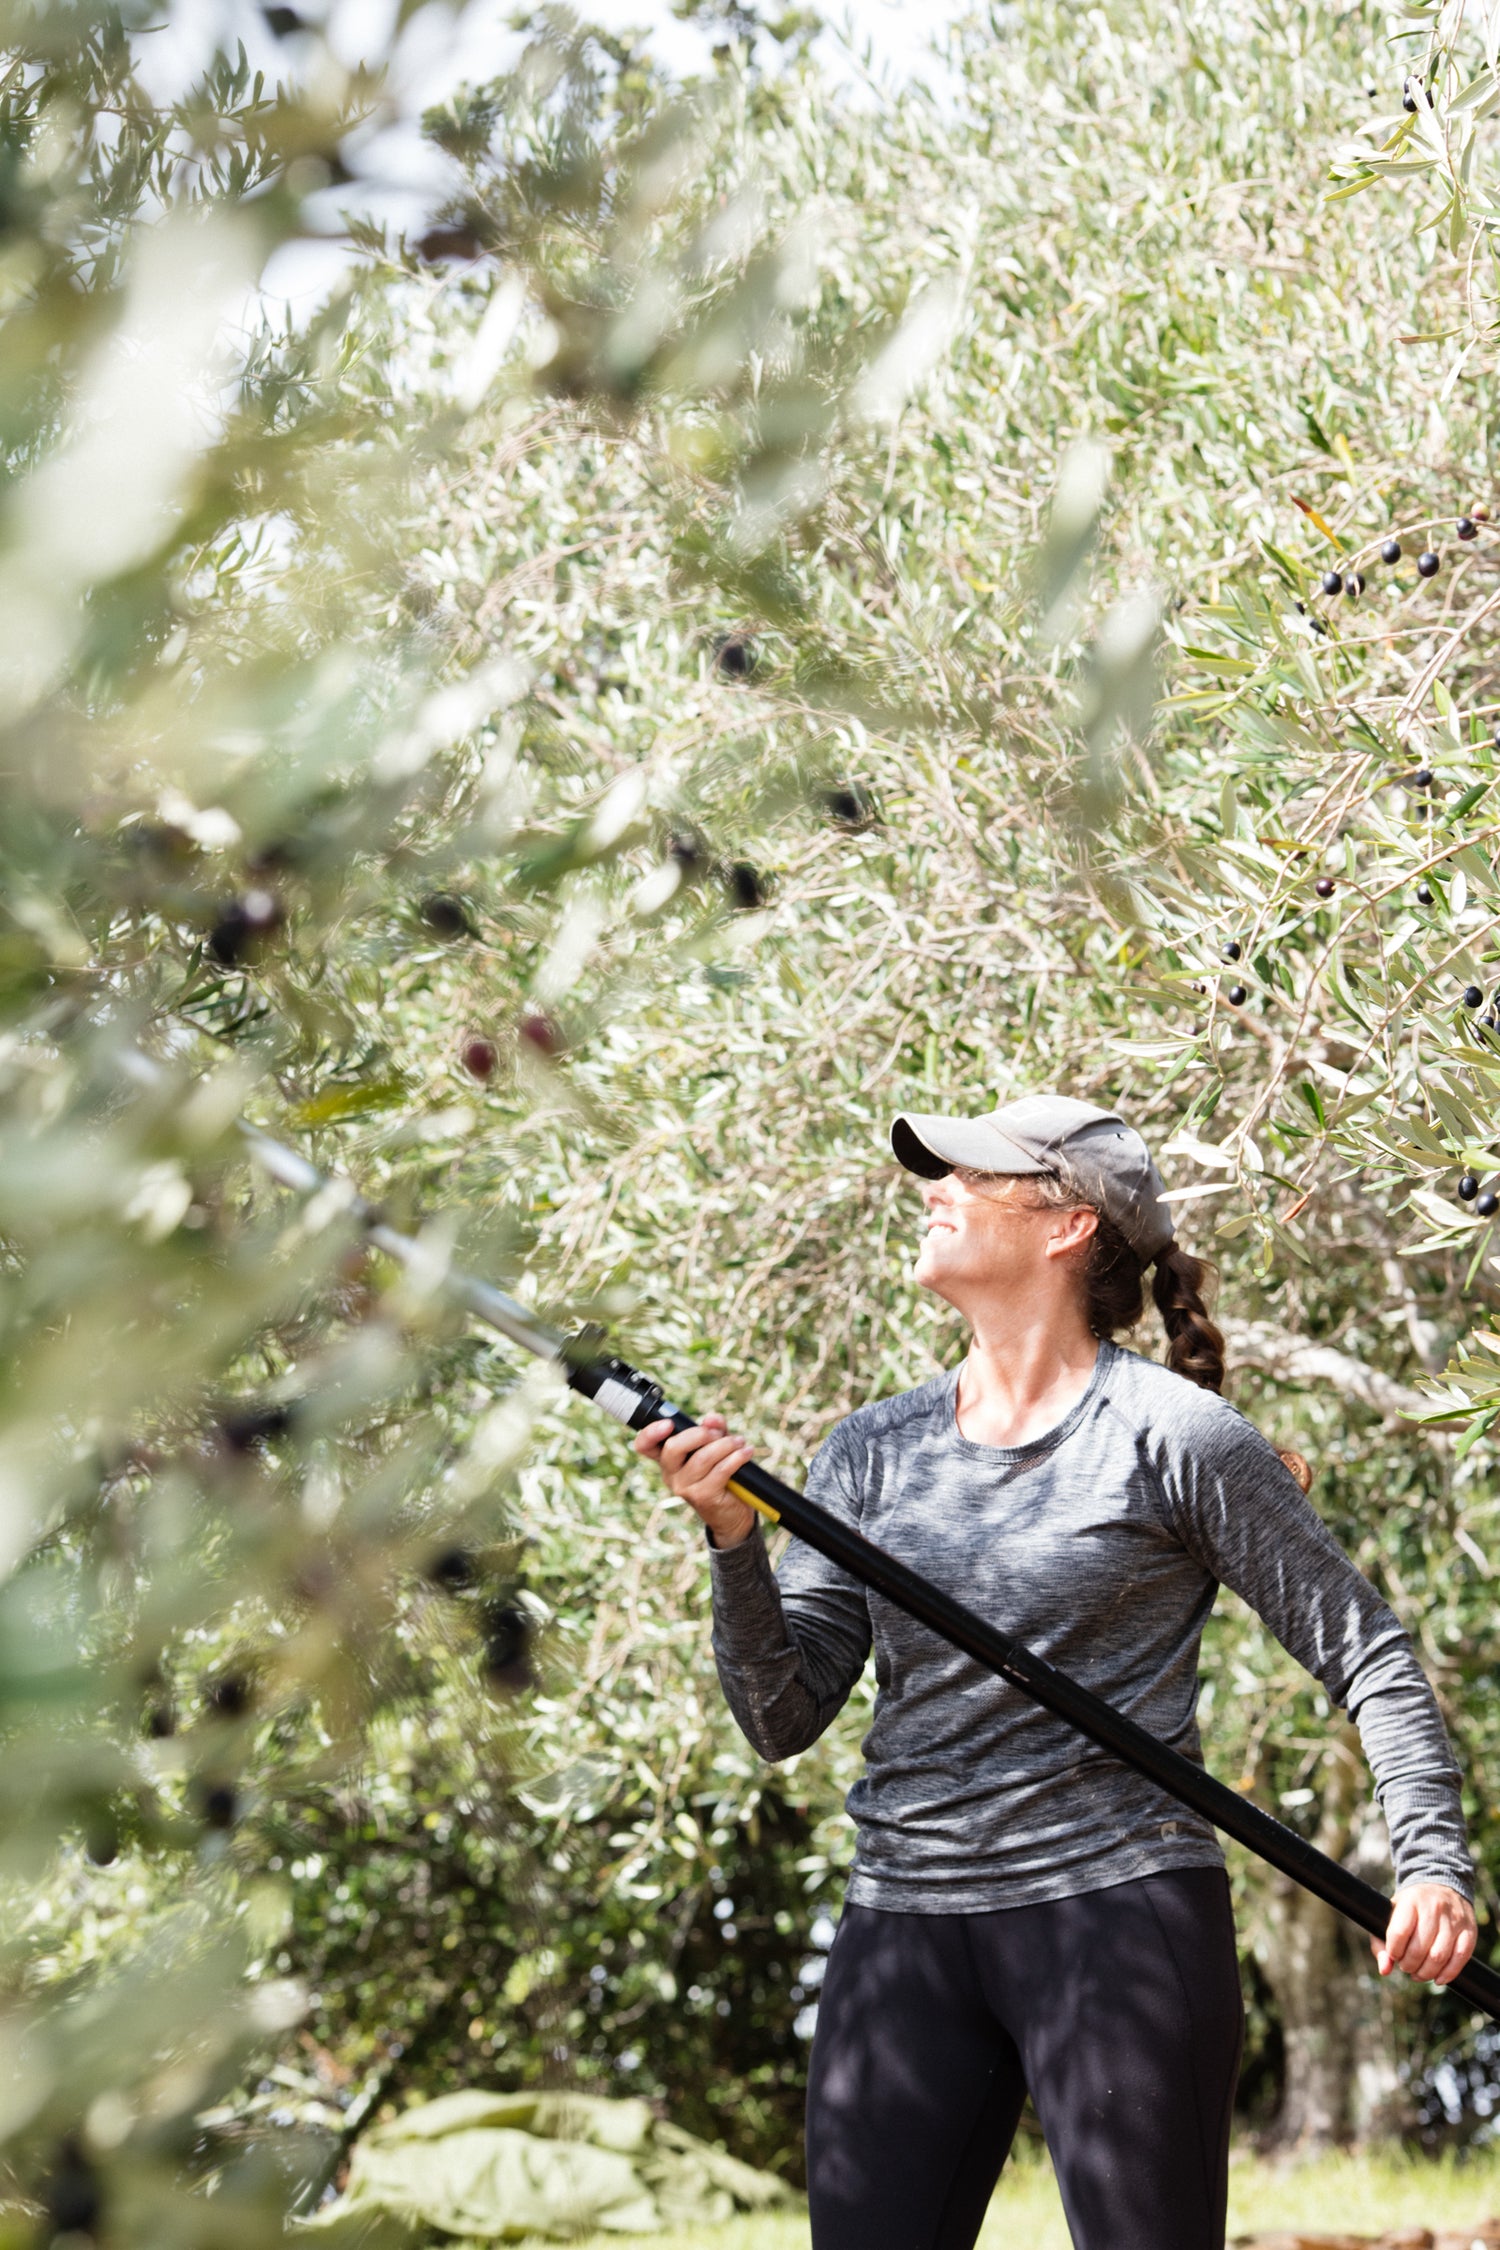
When to start picking
We’ll be open for your olive deliveries on Mondays and Fridays between 8am – 12noon. Please plan your pick around these days. We do this so you can co-ordinate picking help over the weekends. See our top tips below.
- Check the weather in advance – don’t pick when your fruit is wet.
- Gauge when about 60% of your fruit has yellowed in colour. A well pruned tree will give you a better consistency of ripe fruit.
- Pick a couple and squeeze them. A red milky oily fluid should freely come out.
- Each variety has its own level of skin colour ripeness. Some olives are quite ripe when they’re yellow and will be over ripe at black. Others can go black and still be nicely ripe.
- Don’t leave your olives sitting in the hot sun, move them into the shade. Keeping the olives cool is critical to achieving good quality oil.
- Don’t pick olives off the ground that have dropped from the tree.
- Keep the depth of the olives in the container no greater than 30cm.
- Aim to have the olives delivered for processing within 24 hours of picking.
- Store olives in ventilated bins or cardboard boxes - not a bucket, as the olives will sweat, which will sour your oil.
The leaf sorter and washer on our mill will remove detached leaves and smaller twigs. However, it’s important to get rid of larger twigs and branches, and to separate bunches of olives.
If your olives don’t meet our standards of care, we may decline to process them.
What you'll need
It’s good to have everything you need ready, before you harvest. Here’s what you’ll need.
- An old clean sheet or tarp which you can lay under the tree. Army parachutes are great if you have access to one of those as well!
- Small plastic hand rakes are handy but not necessary, some find it just as easy to use their hands.
- If you have just a few small trees, a cloth pouch or a bag (a supermarket bag even) tied around your waist makes a good collection receptacle.
Milling, Filtering & Bottling Charges
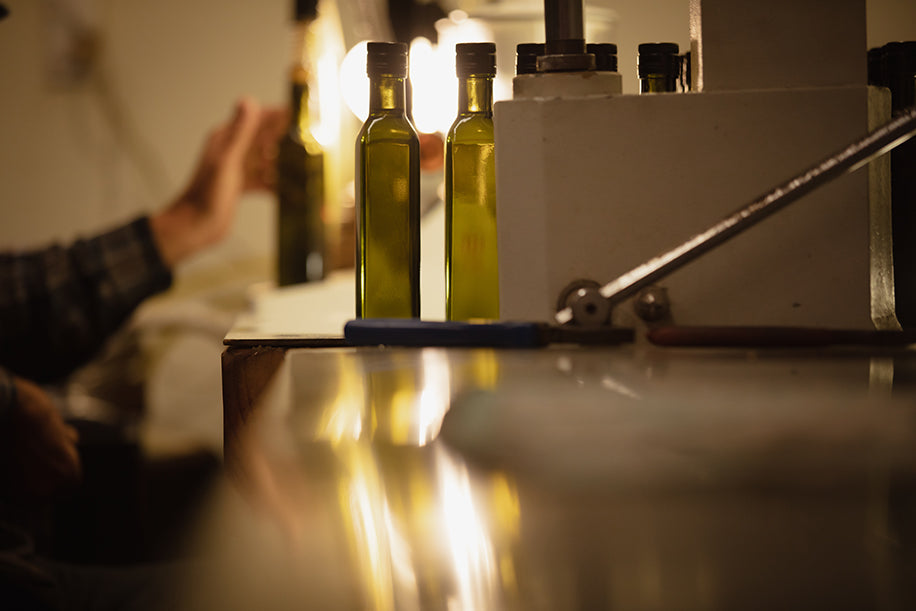
This year, we have three options for you to choose from. You can book milling only, milling + filtering, or milling + filtering + bottling.
Below are the charges for each option:
*prices exclude gst.
Milling only
- 10-150 kgs of olives –$3.65 per kg
- 151 - 250 kgs of olives –$3.15 per kg
- 251 – 500* kgs of olives - $3.00 per kg
- 501* kgs+ of olives - $2.10 per kg
* single batch processing
Filtering
- $3.00 per litre
Bottling
- 500ml - $3.20 per bottle
- 250ml - $2.80 per bottle
Please note, for both Milling only and Milling + Filtering options, you’ll be required to provide your own containers to receive your bulk EVOO in.
Racking Your Oil
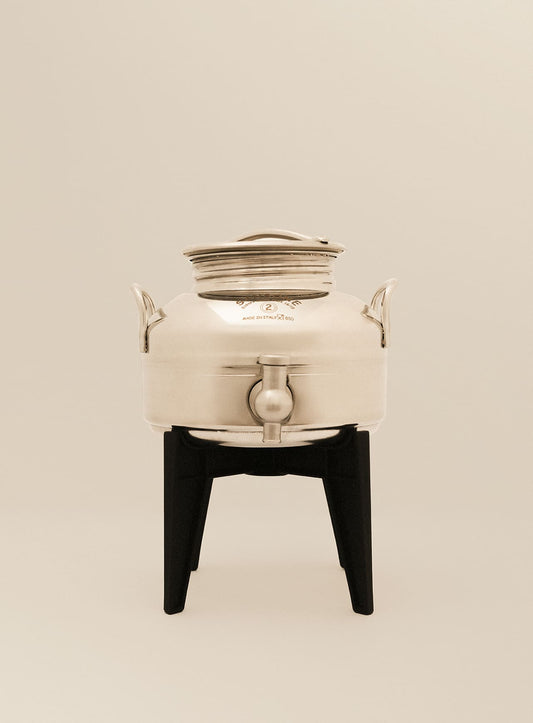
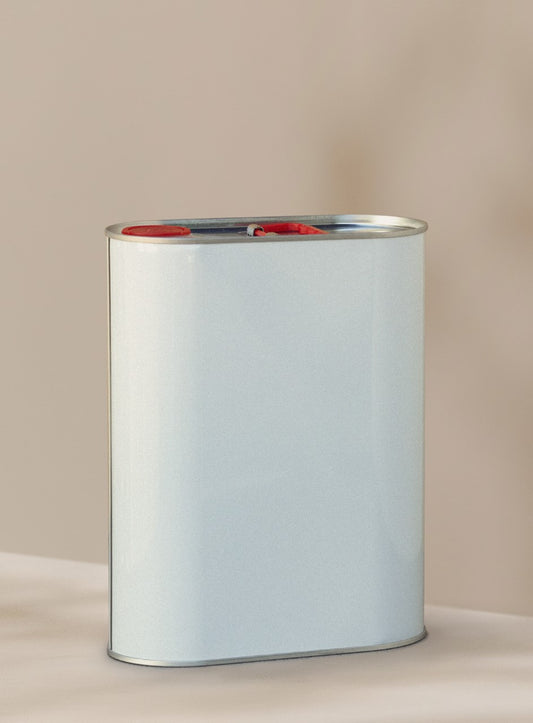
Make sure you have a clean and dry storage can when you bring in your olives. We have a small selection of fustis and cans, which you can purchase here if needed. Racking is an important part of the EVOO process. See our top tips below.
How to rack your oil
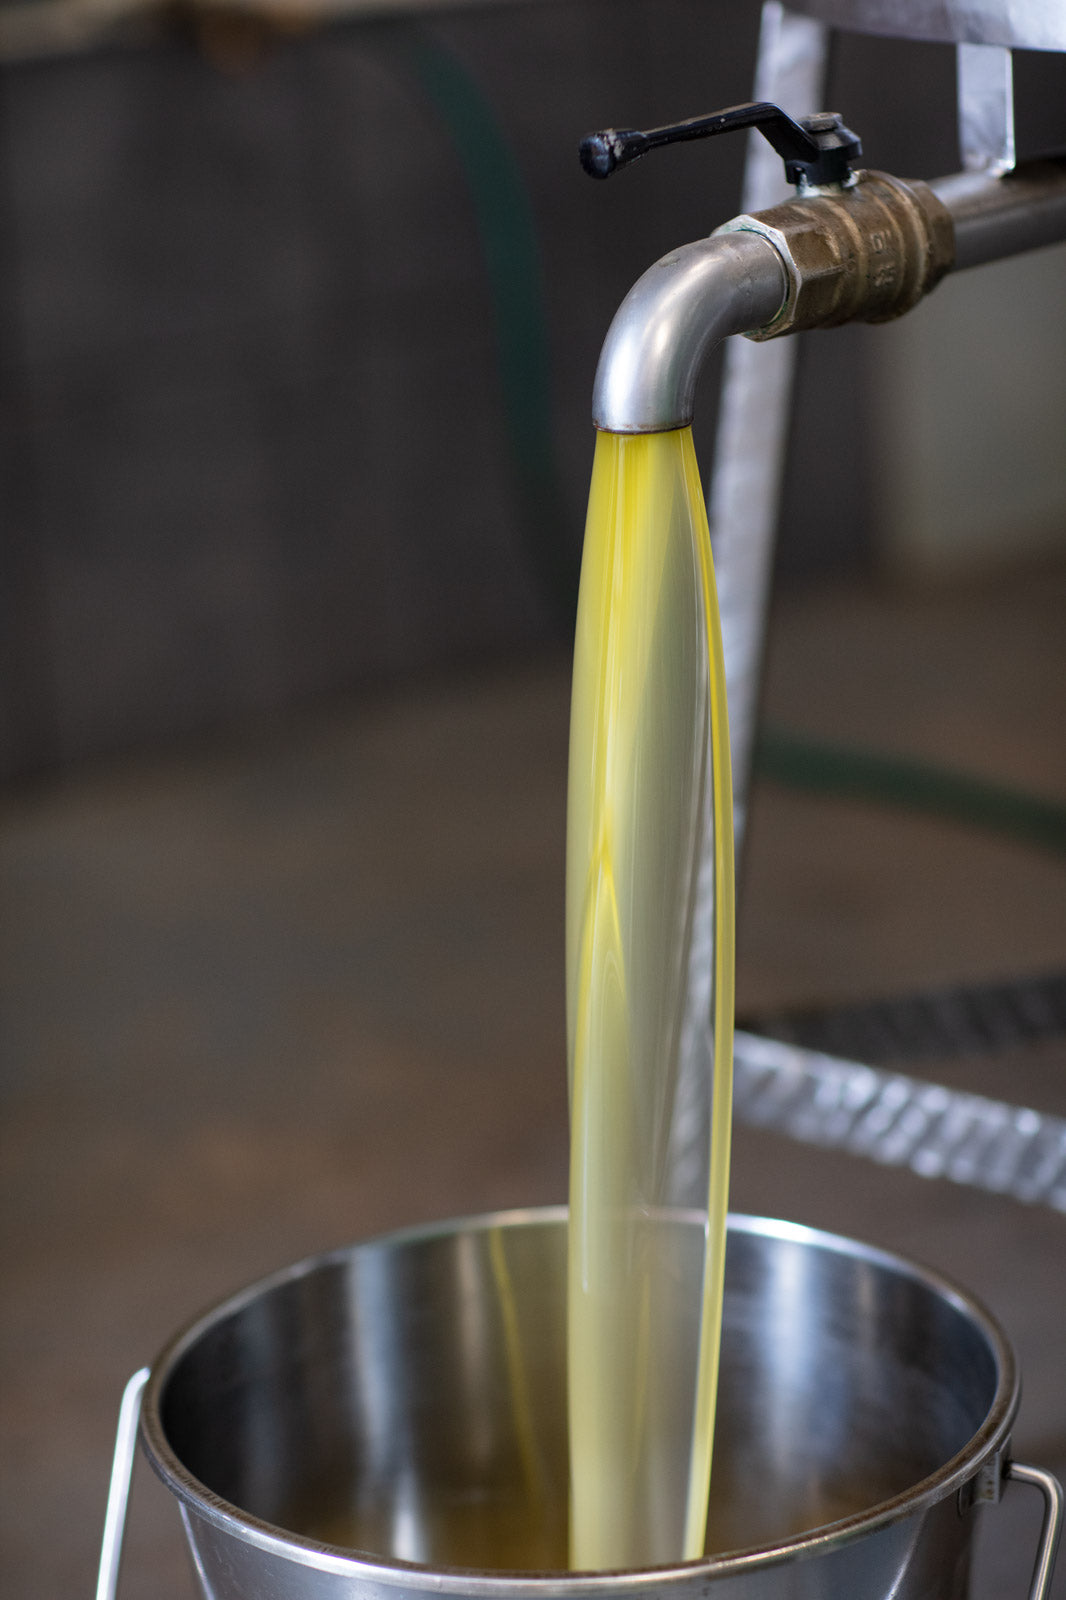
Storing your oil in a fustis with a tap is the easiest way to rack your oil. Here’s how:
- Let the oil settle for approximately 4 days post milling.
- While your container is sitting on a flat bench, drain most of the oil using the tap on the fusti leaving the last 10%.
- Remove as much clean oil as possible – leaving the layer of sediment (‘lees’) in the base of the vessel.
- The remaining sludge can be wiped out with a paper towel. Ensure the vessel is clean and dry then return your oil to the container.
- This can be repeated if your oil remains cloudy. Once fully settled, your oil should be clear and golden.
- Ensure you have the right amount of storage available, including a spare vessel for the racking process.
Looking after your EVOO
How to prevent the three things that degrade your oil quality:
Light: always store oil in the dark
Air: keep oil in a sealed container preferably with little or no air space
Water: Make sure the storage container is clean and dry
Contact form
Container Shop
-
Sansone Olive Oil Fusti
Regular price From $250.00 NZDRegular priceUnit price per -
Can with Pourer - 5L
Regular price $29.00 NZDRegular priceUnit price per
